How to Add Hover to Shopify Menu (inc Mega Menu)
By default, Shopify menus are clickable but many store owners will want it so that users can simply hover their cursor the menu heading and the nested option appear automatically.
Shopify doesn’t offer this functionality as standard but by adding and editing a few bits of code, including an option to easily turn the hover option on and off in the customizer.
For this we are going to be adding the hover option to the new Shopify theme framework and this won’t work with the Vintage themes.
Step 1: Add Hover Code
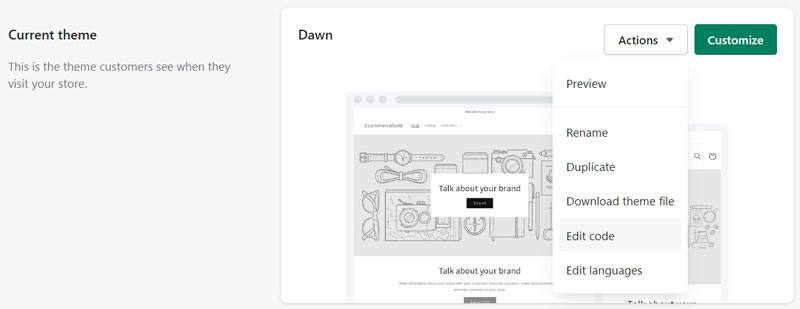
The first step is to add the code that makes adds the hover functionality to your Shopify store and this is done by going to Online Store → Themes and then selecting the Edit Code option from the drop-down menu on the theme you want to add the hover functionality.
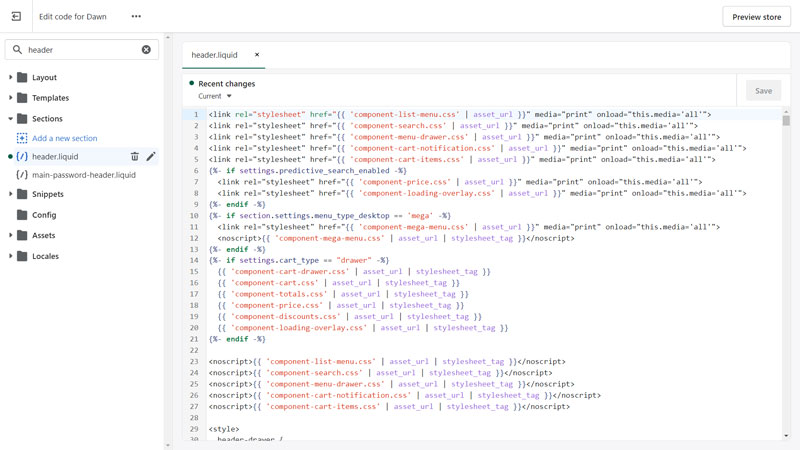
This will open up the Shopify code editor and you want to find the header.liquid file, which can be done either by entering header into the search bar or you can find it in the sections folder, once you have found the section, click on it and the code for the header section will appear.
Once you have opened the header.liquid file, you want to find the start of the schema section, which looks like {% schema %} and is somewhere around line 500 (this will depend on the theme you are using and which version), once you have found this section, you want to enter the new code before it.
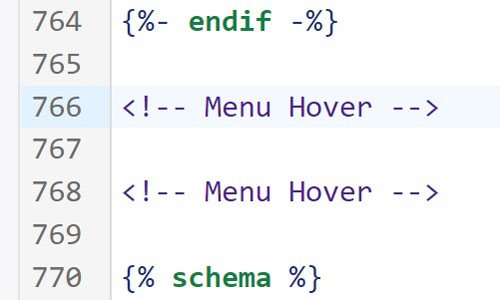
To make it easier to find in the future, it can be helpful to add a comment around the code and this can be done by clicking ctrl + / on an empty line, which will bring up the following: <!– –> and in between the hyphens, you can enter your own text, such as Menu Hover for example.
It can be helpful to copy and paste this comment a couple of lines below and then enter the code for the hover functionality between these comments.
This will make it much easier to find the code at a future date and know exactly which code you entered.
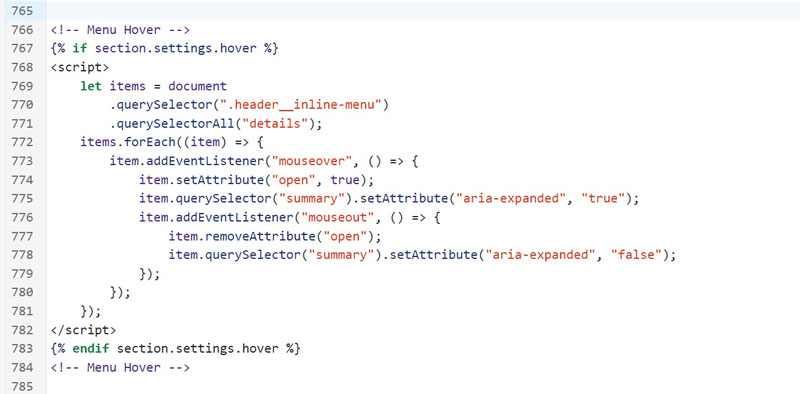
Next, you want to add the following code between these two comments that you just created:
<script>
    let items = document
        .querySelector(".header__inline-menu")
        .querySelectorAll("details");
    items.forEach((item) => {
        item.addEventListener("mouseover", () => {
            item.setAttribute("open", true);
            item.querySelector("summary").setAttribute("aria-expanded", "true");
            item.addEventListener("mouseout", () => {
                item.removeAttribute("open");
                item.querySelector("summary").setAttribute("aria-expanded", "false");
            });
        });
    });
</script>
Now I can’t take credit for this code as it was created by Will Misback, who is a very clever Shopify partner.
Once the code has been added, click save and the functionality has been added to your Shopify store and if you click on the preview button in the top right-hand corner of the file editor, you should see that your navigation menus open on hover.
Shopify Mega Menu Hover
The code above works great with the dropdown menu layout for your navigation menu but doesn’t work all that well for the mega menu layout but with a slight tweak to another bit of code, you can make it work.
But you need to access a different file called component-mega-menu.css and this can be found in the Assets folder or by searching just searching mega, once you have found the file, you want to edit/add lines of the code under the mega-menu__content section (should be around line 5), these are:
- top – change from 100% to 95-75% (depending on your theme)
- z-index – change from -1 to 999999 (this now needs to be added on a new line)

This should make it so that the mega menu stays open when you move the cursor from the menu heading on to the mega menu, if it doesn’t you can try reducing the top from 75% to 70%.
Step 2: Add a Hover Option in the Customizer
Step 2 is completely optional but one I would recommend adding as it allows you to turn the hover functionality on and off, which can be very useful if you have to run any kind of testing should you run into an issue at a later date.
There are three steps involved to achieve this but it is very quick and easy to do:
#1 Add if function
The first step is to add the following if function above and below the code that you just entered:
{% if section.settings.hover %}
{% endif section.settings.hover %}
And the code should look like this:
#2 Add Schema Section
The second step is to add a schema section in the header.liquid file and the start of the schema sections are just below the code that you just added (if you followed step 1 properly).
It is up to you where you enter this code in the schema section but it is advisable to enter it just below the schema for the sticky header and you want to enter the following code:
{
      "type": "checkbox",
      "id": "hover",
      "label":"t:sections.header.settings.hover.label"
},
If you want the hover option to be checked by default (as we are adding a checkbox), then you need to add a new line under id and enter: “default”: true,
#3 Add Locale Schema
The final step is to add schema to your locale file and for this example, we will be using the en.default.schema.json file but you want to add the following code to whichever locale applies to your store.
The files can be found under the main locale folder or by simply typing schema into the search bar and once you have found the file for your locale, you want to enter the following code under the menu_type_desktop option:
"hover": {
         "label": "Enable hover on menu items"
        },
This should then look like:

If you are adding this for a client site, you can also add an info line (code: “info”: “enter info here”) under the label line to give instructions to your client as to what this option does.
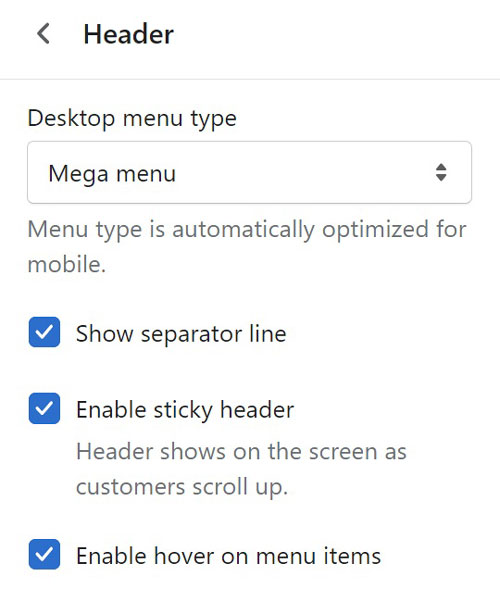
Once you have added and saved this code to your Shopify stores files, you should then see the following option available in the Shopify customizer under the header section.
This is where adding the schema under the sticky header makes sense as it keeps all of the menu-related items together.
You may find that the hover functionality might not work when using your site in the customizer but it should all be working on the live/preview version of your site.
Conclusion
Editing the code on your Shopify store may seem daunting but this is simply a case of copying and pasting into the right places but always create a duplicate of your site before you get started just in case anything happens to go wrong.
But once it has all been set up and is working, it will provide your site’s visitors with a much more user-friendly experience and removes the need for them to make clicks.
One final thing, this is for desktop users only as this wouldn’t work on well on mobile and Shopify does a good job with the mobile menus as standard.

Hi, I'm Paul, the Owner and Founder of EcommerceGold.
I ran my own Ecommerce Business for over 7 years and now help others start their own online retail empires!