How to Create Contact Us Page in Shopify
A very important page for many Shopify stores is their contact us page as this is how customers will contact you for a variety of reasons including:
- Sales inquiries
- Customer service
- Returns
And in this short tutorial, we are going to show you how to set up a contact us page.
It should be noted that Shopify does create a contact page for most stores by default but this may have been deleted by mistake but the template for the page may still be available.
To see if the template is still there, go into the Shopify customizer and click on the dropdown menu at the top.
Then click on pages and see which templates are available, if you see that the contact template is there, then you just need to create a page around this template (Step 2 below).
If the contact template is not there, then follow the steps laid out in this guide below to create one.

Step 1: Create the Contact Template
To create a template for your contact us page, go to the Shopify theme customizer and click on the dropdown menu at the top of the page (this will be on Homepage by default), click pages and then create template and a pop-up like this should appear:
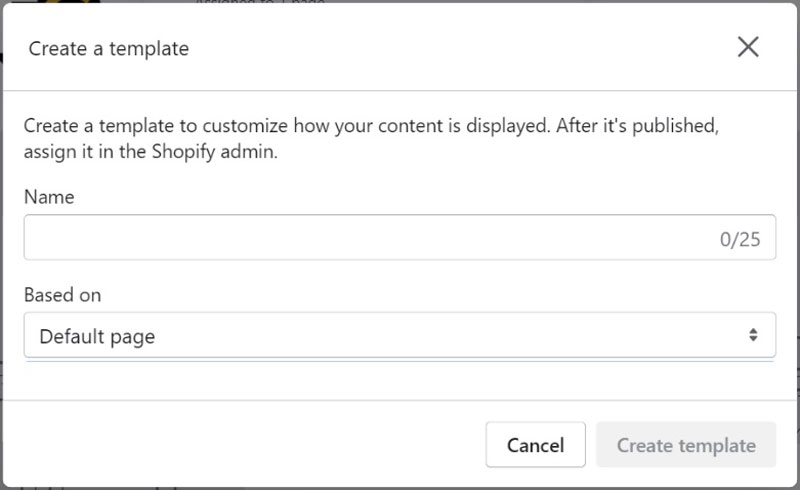
Enter a name for the page such as contact or contact us and then click create template and a blank template should appear similar to the image below:

You then want to add a section to the template called Contact form and this adds a basic contact form to the page.

The Contact Form section is quite basic in terms of sections but should work for most Shopify stores and if you want to create a custom contact form, then you will need to install an app from a third-party developer.
reCAPTCHA – one thing some users may notice is the seeming lack of any sort of reCAPTCHA to help prevent spam emails but the V3 reCAPTCHA is activated on all forms and logins by default and if you want to change this (it is recommended you don’t), then go to Online Store → Preferences and scroll down to the bottom and you should see the following box:

And to turn off reCAPTCHA, simply uncheck the boxes and click save.
You can also choose to add additional sections to your contact form template such as Rich Text, which allows you to add custom text to the page such as a contact telephone number or your store’s physical address.
Unfortunately, Shopify hasn’t brought the Map section over from the vintage themes to the new OS 2.0 framework, which means that if you want to add a map to your contact form, you will need to install an app.
Once you are happy with your contact page template, make sure to save the template before leaving the customizer.
Step 2: Create Contact Page
Before we can publish the contact page on our site, we need to make a page for the template that we created.
To do this, go to Online Store → Pages → Add Page and you will be taken through to the add new page screen and there are only three things you need to do here:
- Add a title
- Set page to visible (usually selected by default)
- Choose the contact form template you just created
To select the template, click on the dropdown menu in the Online Store section on the right of the page and select the contact template, once these three steps have been done click save and the page will have been created.

Step 3: Add Contact Page to Navigation Menu
The final step in setting up your contact page is to add it to one of your navigation menus which are visible on your storefront so that customer can access the page.
This is very simple to do, just go to Online Store → Navigation and choose which menu you want to add the page to, then add a new menu item and select the contact page from the Pages option in the dropdown menu.
Then click save and check your store front to make sure that the page has been added and is accessible, it is also worth filling out and submitting the contact form just to make sure that it is working and that emails are being delivered correctly.

Conclusion
Setting up a basic contact form in Shopify is very easy to do and should only take a couple of minutes to do, especially if you follow the process in this guide.
If you want to create a truly custom contact form then you will need to install a plugin that offers custom builder functionality but for most stores, the basic option will do the job, it would just be nice if they added a Map section for stores with a physical outlet.

Hi, I'm Paul, the Owner and Founder of EcommerceGold.
I ran my own Ecommerce Business for over 7 years and now help others start their own online retail empires!