Shopify Navigation Menu Tutorial
A hugely important part of your Shopify store’s user experience will be focused around your navigation menu as this is the primary way that visitors will access different pages on your site and in this short Shopify tutorial, we will show you how to:
- Create a new menu
- Add items to the menu
- Create a nested menu
- Add a menu to your storefront
Create New Menu in Shopify
Shopify creates two menus by default, which are the Main Menu and the Footer Menu and for many stores, they probably won’t need more than these two but there may be a situation where you need an additional menu.
And creating a new menu in Shopify is very simple, simply go to Online Store → Navigation and you will see the default menus as can be seen in the image below:
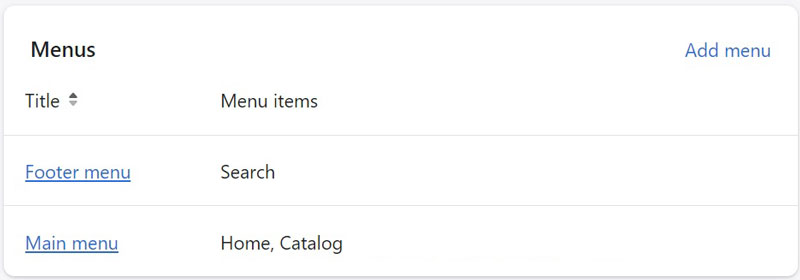
To add a new menu, click on the Add menu link on the top right of the Menus box and you will be taken to a new screen, which looks like the one below:
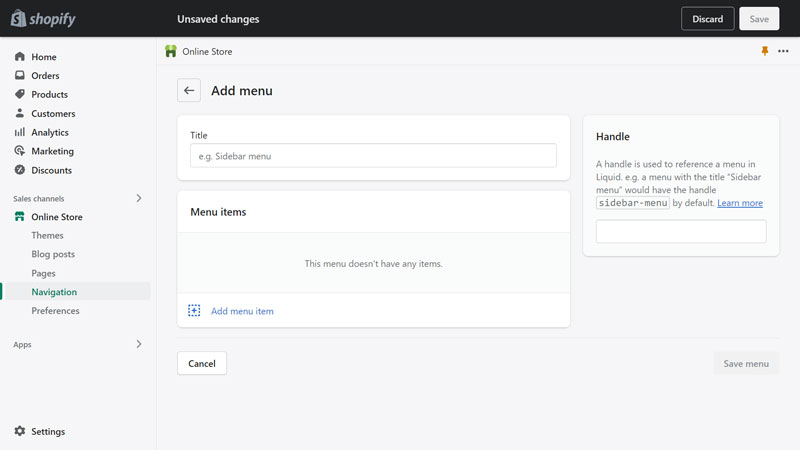
To create a new menu, enter the name of the menu, create a handle for the menu (don’t use spaces to separate words, instead use a hyphen) and choose which items you would like added to the menu.
Once you have set the menu up, click save and this menu will then appear in the Menus box next to the default Main and Footer menus.
Deleting a Menu in Shopify
If you create too many menus or one by accident, you will probably want to delete it but you can’t delete the default Main and Footer menus.
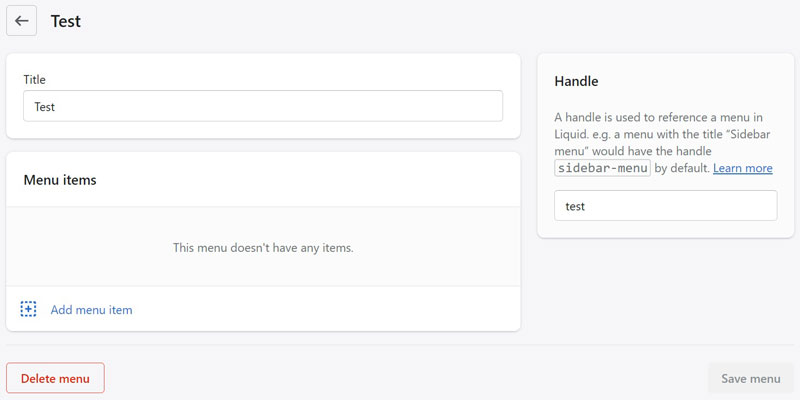
To delete a created menu, click on the menu as if to edit it and you will see a red Delete Menu button at the bottom of the page, click this and a confirmation pop-up will appear asking you if you are sure you want to complete this action and to confirm, click the red Delete button and the menu will be removed from your store.
Adding Items to Shopify Menu
Whether you are editing an existing menu or creating a new one, you will need to add some items to your menu so that it links to different pages on your site.
To add a new item, click on your menu and then click Add Menu Item and the bottom of the Menu Items box and a sidebar pop-up will appear with two boxes:
- Name – This will be the name of the link that is displayed on your storefront
- Link – This is the page that the link will go too
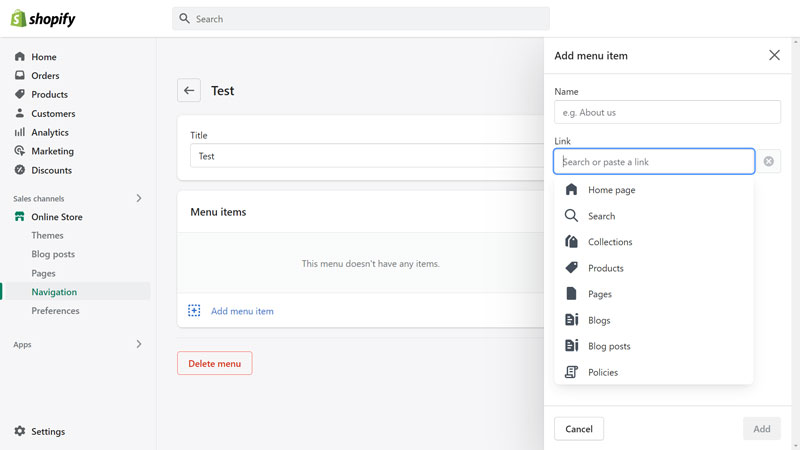
When you click on the link box, a dropdown menu will appear with a list of pages that you can link to, including:
- Home page
- Search (opens a search bar for site visitors)
- Collections
- Products
- Pages
- Blogs
- Blog posts
- Policies
When you click on any option other than Home or Search, another menu will appear with all the available pages within that section.
If you haven’t entered a name for the link, it will pull the name of the page and use that as the name but you can still edit it if you want to.
You can also link to an external page, such as YouTube by simply copying the URL you want to link to by copying and pasting it in the box.
Once you are happy with the title and link, click the add button in the sidebar and this link will be added to the menu but make sure to save the menu before exiting this edit/create menu page, otherwise, the link you added won’t be saved to the menu and it won’t appear on the frontend of your site.
Creating a Nested Shopify Menu
One thing many stores will want to do with their site’s navigation bar is to create a nested menu (a link under another link), especially as you can’t create subcollections in Shopify.
Creating a nested menu is very simple, just go into the edit/add new menu screen and you will see six dots next to all of the menu items that have been added to the menu and if you hover your mouse cursor over these 6 dots, it should change from an arrow to a hand.
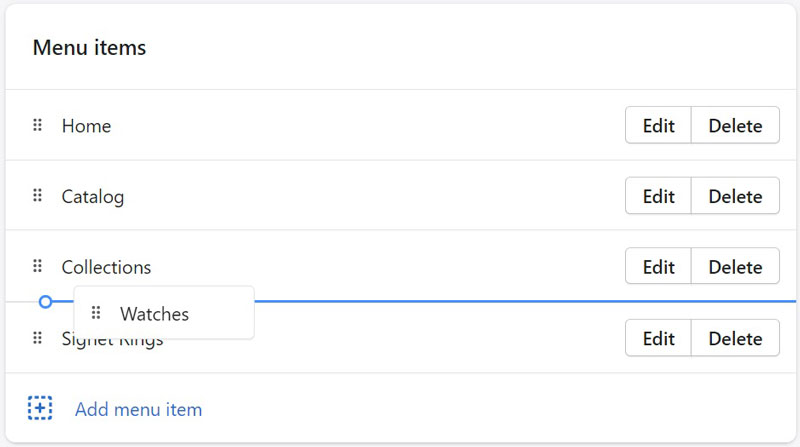
Then what you want to do is click on the 6 dots and drag the menu item to the right under the heading under which you want it to be nested, you should see a blue link with a circle when you click on the 6 dots.
The blue circle should also be indented in order for the menu item to be nested and once you are happy with where the menu item is positioned, release the cursor and the menu item you dragged should appear under your chosen heading as in the image below:
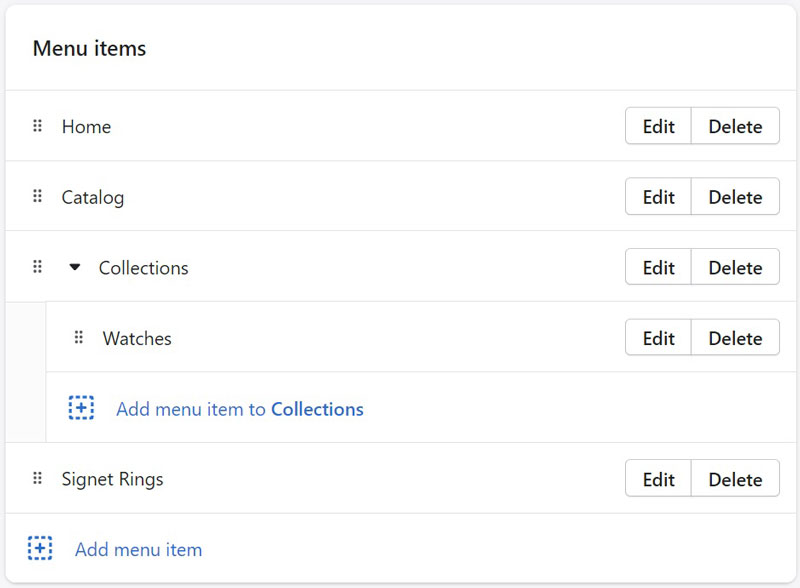
This process can be repeated so that there are two levels, using the image above as an example, Signet Rings could be nested under the Watch heading, which is nested under the Collections heading.
These nestings can also be reversed by clicking on the 6 dots and dragging the Menu item to the left.
As with any edits to the menu, make sure it is saved before exiting this screen.
Add Menu to Shopify Storefront
By default, the Main and Footer menus are already added to your storefront but if you create a custom menu for either of these options, you will need to replace the default ones and to do this, you need to go into the Shopify customizer.
Change Header Menu
The main navigation menu that your site’s visitors will use to navigate around your store is located in the header and to change it, click on the header option in the customizer sidebar.
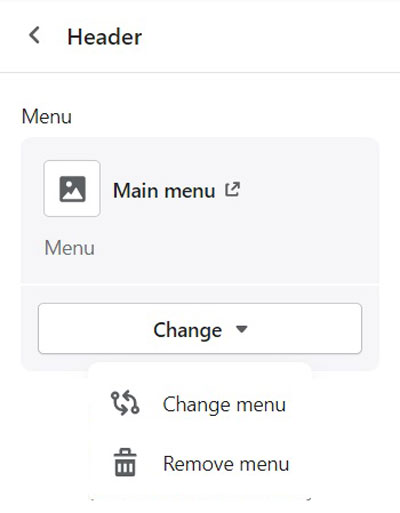
You will then need to scroll down to the Menu section and you will see that the default Main menu is being used here.
The change it, click on the change button and two options will appear:
- Change Menu – clicking on this will bring up a list of all your menus, simply click the one you want and it will replace the existing menu
- Remove Menu – self-explanatory but this will remove the menu from this location.
Change Footer Menu
Whether you choose to have a menu in the footer of your site depends on the design of your site.
If you want to change or remove your footer menu, you will need to click on the small arrow on the Footer heading at the bottom of the customizer sidebar and this will show all the blocks in the footer.
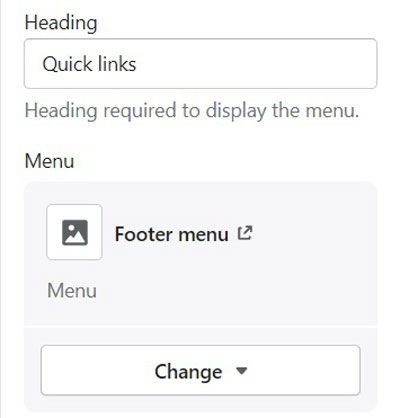
You can add an additional footer menu by clicking the Add block option and selecting Menu or edit an existing menu (all Menu blocks have the broken square icon as can be seen in the image next to Quick links) by clicking on it.
As with the menu in the header, you can change or remove the menu by clicking on the change button and selecting the relevant option.
You can also change the name of the heading that appears above the menu in the footer.

Shopify Mega Menu
With the updated 2.0 framework, you can now choose how you want your main navigation menu to display on desktop devices (they are automatically optimized for mobile) and you can choose from a Dropdown, which is selected by default or a Mega Menu.
Changing to a Mega Menu layout is done by going to the Header section in the Shopify customizer and this option is just below where you can change which menu is displayed and you will see a heading called Desktop Menu Type.
Simply click on the dropdown menu and select Mega Menu, you will then be able to preview this in the customizer.

The Mega Menu does have a couple of advantages over the dropdown option as:
- It looks better
- All of the headings are clickable, which makes site navigation easier
With the dropdown menu, clicking on the headings with nested options underneath just displays these options, which doesn’t work well when using your navigation menu to try and display subcollections.
Conclusion
As we said at the start, your navigation menu or menus are very important as they allow visitors to access different pages on your site, which can lead to them spending more time on your site and potentially spending more money!
Just test out your menus before publishing them to your site and make sure that all the links are set up correctly and working.

Hi, I'm Paul, the Owner and Founder of EcommerceGold.
I ran my own Ecommerce Business for over 7 years and now help others start their own online retail empires!